Table of Contents
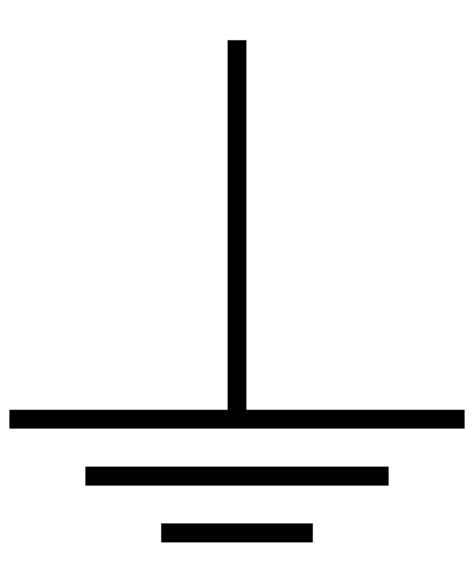
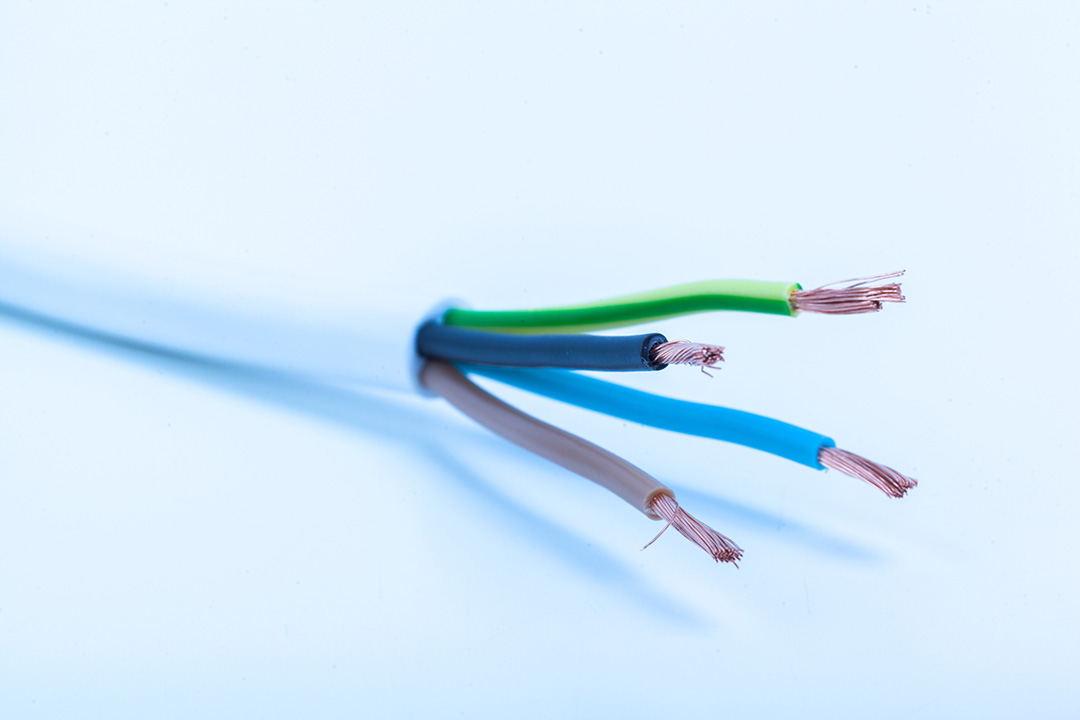
Electrical circuits have a separate ground, or ‘earth’, circuit that provides an alternate low-impedance path for electricity to safely reach the ground, in case of accidental physical contact. Ground testing is used to measure the performance of this circuit and check if it meets requirements.
The Importance of Ground Testing
Ground testing is of two basic types – testing when a facility is being built, and routine testing to ensure that the grounding system is performing as it is meant to.
Both types are crucial for a number of reasons:
-
- A system with faulty grounding can cause catastrophic losses of data, equipment and even human life in case of electrical malfunctions.
-
- Equipment operating with inadequate grounding may be exposed to voltage surges and spikes that can damage it.
-
- Sensitive equipment is prone to processing data incorrectly or losing it altogether in case grounding is lost.
-
- Intermittent faults from bad grounding can create a range of problems, from random shocks to failures that cannot be pinpointed easily.
- A build-up of surface static electricity may give shocks, which are easily misdiagnosed as internal faults. This leads to unnecessary and costly repairs or replacement of parts.
How to Perform Ground Testing
Before you begin testing a ground circuit, there are a few essentials elements you must understand:
-
-
Use the Correct Instruments
Use devices specifically designed for ground testing, like a dedicated ground tester.
-
-
-
Understand the Test
Apart from the test itself, familiarize yourself with the tools you’re going to use and how they operate.
-
-
-
Understand the Test Environment
You must measure the entire area surrounding the electrode, which is critical to performance.
-
-
Probe Placement
The probes should be placed properly in relation to buried objects, moisture pockets etc.
Ground Testing Techniques
There are several agencies and organizations which issue guidelines, recommendations and standards for testing grounding safety. Whichever one you follow, the key components are the same, like the ground connections and stakes. These should be carefully inspected annually at the very least, for issues like corrosion, which can increase the resistance.
There are four methods that are commonly used for testing ground resistance:
-
Soil Resistivity Test
This is the most commonly used method used for testing newly-installed grounding systems. Soil has many layers, which can cause the resistance to vary greatly. Soil resistivity can be tested with a ground resistance tester.
- The device has 4 connecting lines, each of which attaches to a ground connector.
- These are laid out equidistant from each other, in a straight line, at least thrice their length apart.
- A known current is generated between the outermost stakes, and potential drop calculated between the inner stakes.
- The drop in voltage potential is used to calculate the soil’s resistance using Ohm’s law (V=IR).
Apart from soil profile, there are many other factors that can affect the soil’s local resistivity. To ensure the configuration is suitable, you should study the area and develop an area profile. To do this, you’ll need to perform a soil resistivity test many times over, with the stakes laid out in different directions, and check resistivity at different depths.
-
Fall-of-Potential
The fall-of-potential method is typically used for testing individual grounding stakes or grounding systems as a whole. It measures their capability to dissipate electricity:
- The stake which is being tested is first disconnected from the system.
- The testing apparatus is connected to the disconnected stake, now called the Earth electrode.
- Two other stakes are embedded in line with the first electrode (outer and inner stake).
- Once the ground tester has been connected to the two stakes, a known current is released through the outer stake and Earth electrode.
The distance between the outer and inner stakes depends on the electrodes’ length. You can refer to a guide or a chart to check how you should install the stakes.
-
Stakeless
Using the stakeless method for testing ground resistance, you can eliminate the dangers of disconnecting electrodes and you won’t have to look for appropriate locations for the test stakes:
- Stakeless testing can be performed just about anywhere, making it very convenient.
- The clamps are set up near the connecting cable or Earth electrode.
- A known current is released through one of the clamps and measured at the other.
The ground tester calculates the loop resistance of the ground earth. However, if there is only one path available for the electricity to pass to ground, stakeless testing won’t work.
-
Selective
This method is, in many ways, similar to ground testing using the fall-of-potential test. However, it is much safer, since you don’t need to disconnect the earth electrode from the site:
- A clamp meter is placed near the earth electrodes, which effectively eliminates the effects created by parallel resistances.
- The outer and inner electrodes are hooked up in the same way as the fall-of-potential test.
- The tester is connected to the clamp meter and both the stakes.
Electrical grounding protects both equipment and human lives, so it is absolutely essential to make sure it’s done right and checked routinely. The world’s best grounding system bonding will be useless unless it can reach a low-impedance ground stake, which makes ground testing all the more essential.


