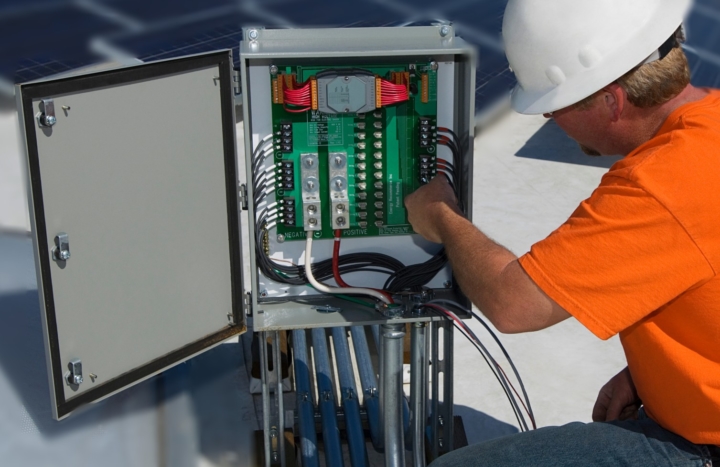
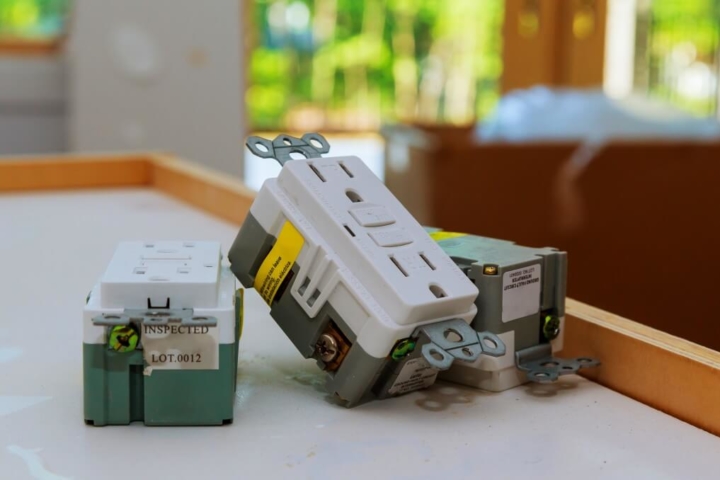
Ground Fault Breaker or Ground Fault Circuit Interrupter (GFCI) breaker offers protection for the entire branch circuit that it serves. Its installation is mostly similar to that of a standard single-pole circuit breaker but there are some crucial differences between the two installation methods. Besides, you need to keep few things in mind before installing your new breaker.
Tools you will need to install the breaker
- GFCI circuit breaker
- Screwdrivers
- Non-contact voltage tester
- Pliers (as needed)
- Voltage tester
- Wire strippers
- Flash light
Before installing GFCI Breaker/ Ground fault breakers
- Even if the main breaker and all the branch circuits in the service panel are shut down, the incoming conductors from the utility service and terminals at which the conductors connect to the panel remain switched on at all times. Hence, be very careful to not touch the service lines or the terminals while working with the service panel.
- It is also important to choose the right circuit breaker since panels and breakers are not universally compatible. Ensure that the GFCI breaker is compatible with the brand and type of your panel. An ideal choice would be capable of carrying the appropriate voltage and amperage ratings for the circuit it is meant to protect.
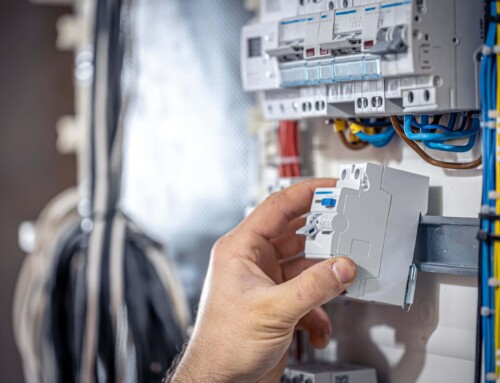
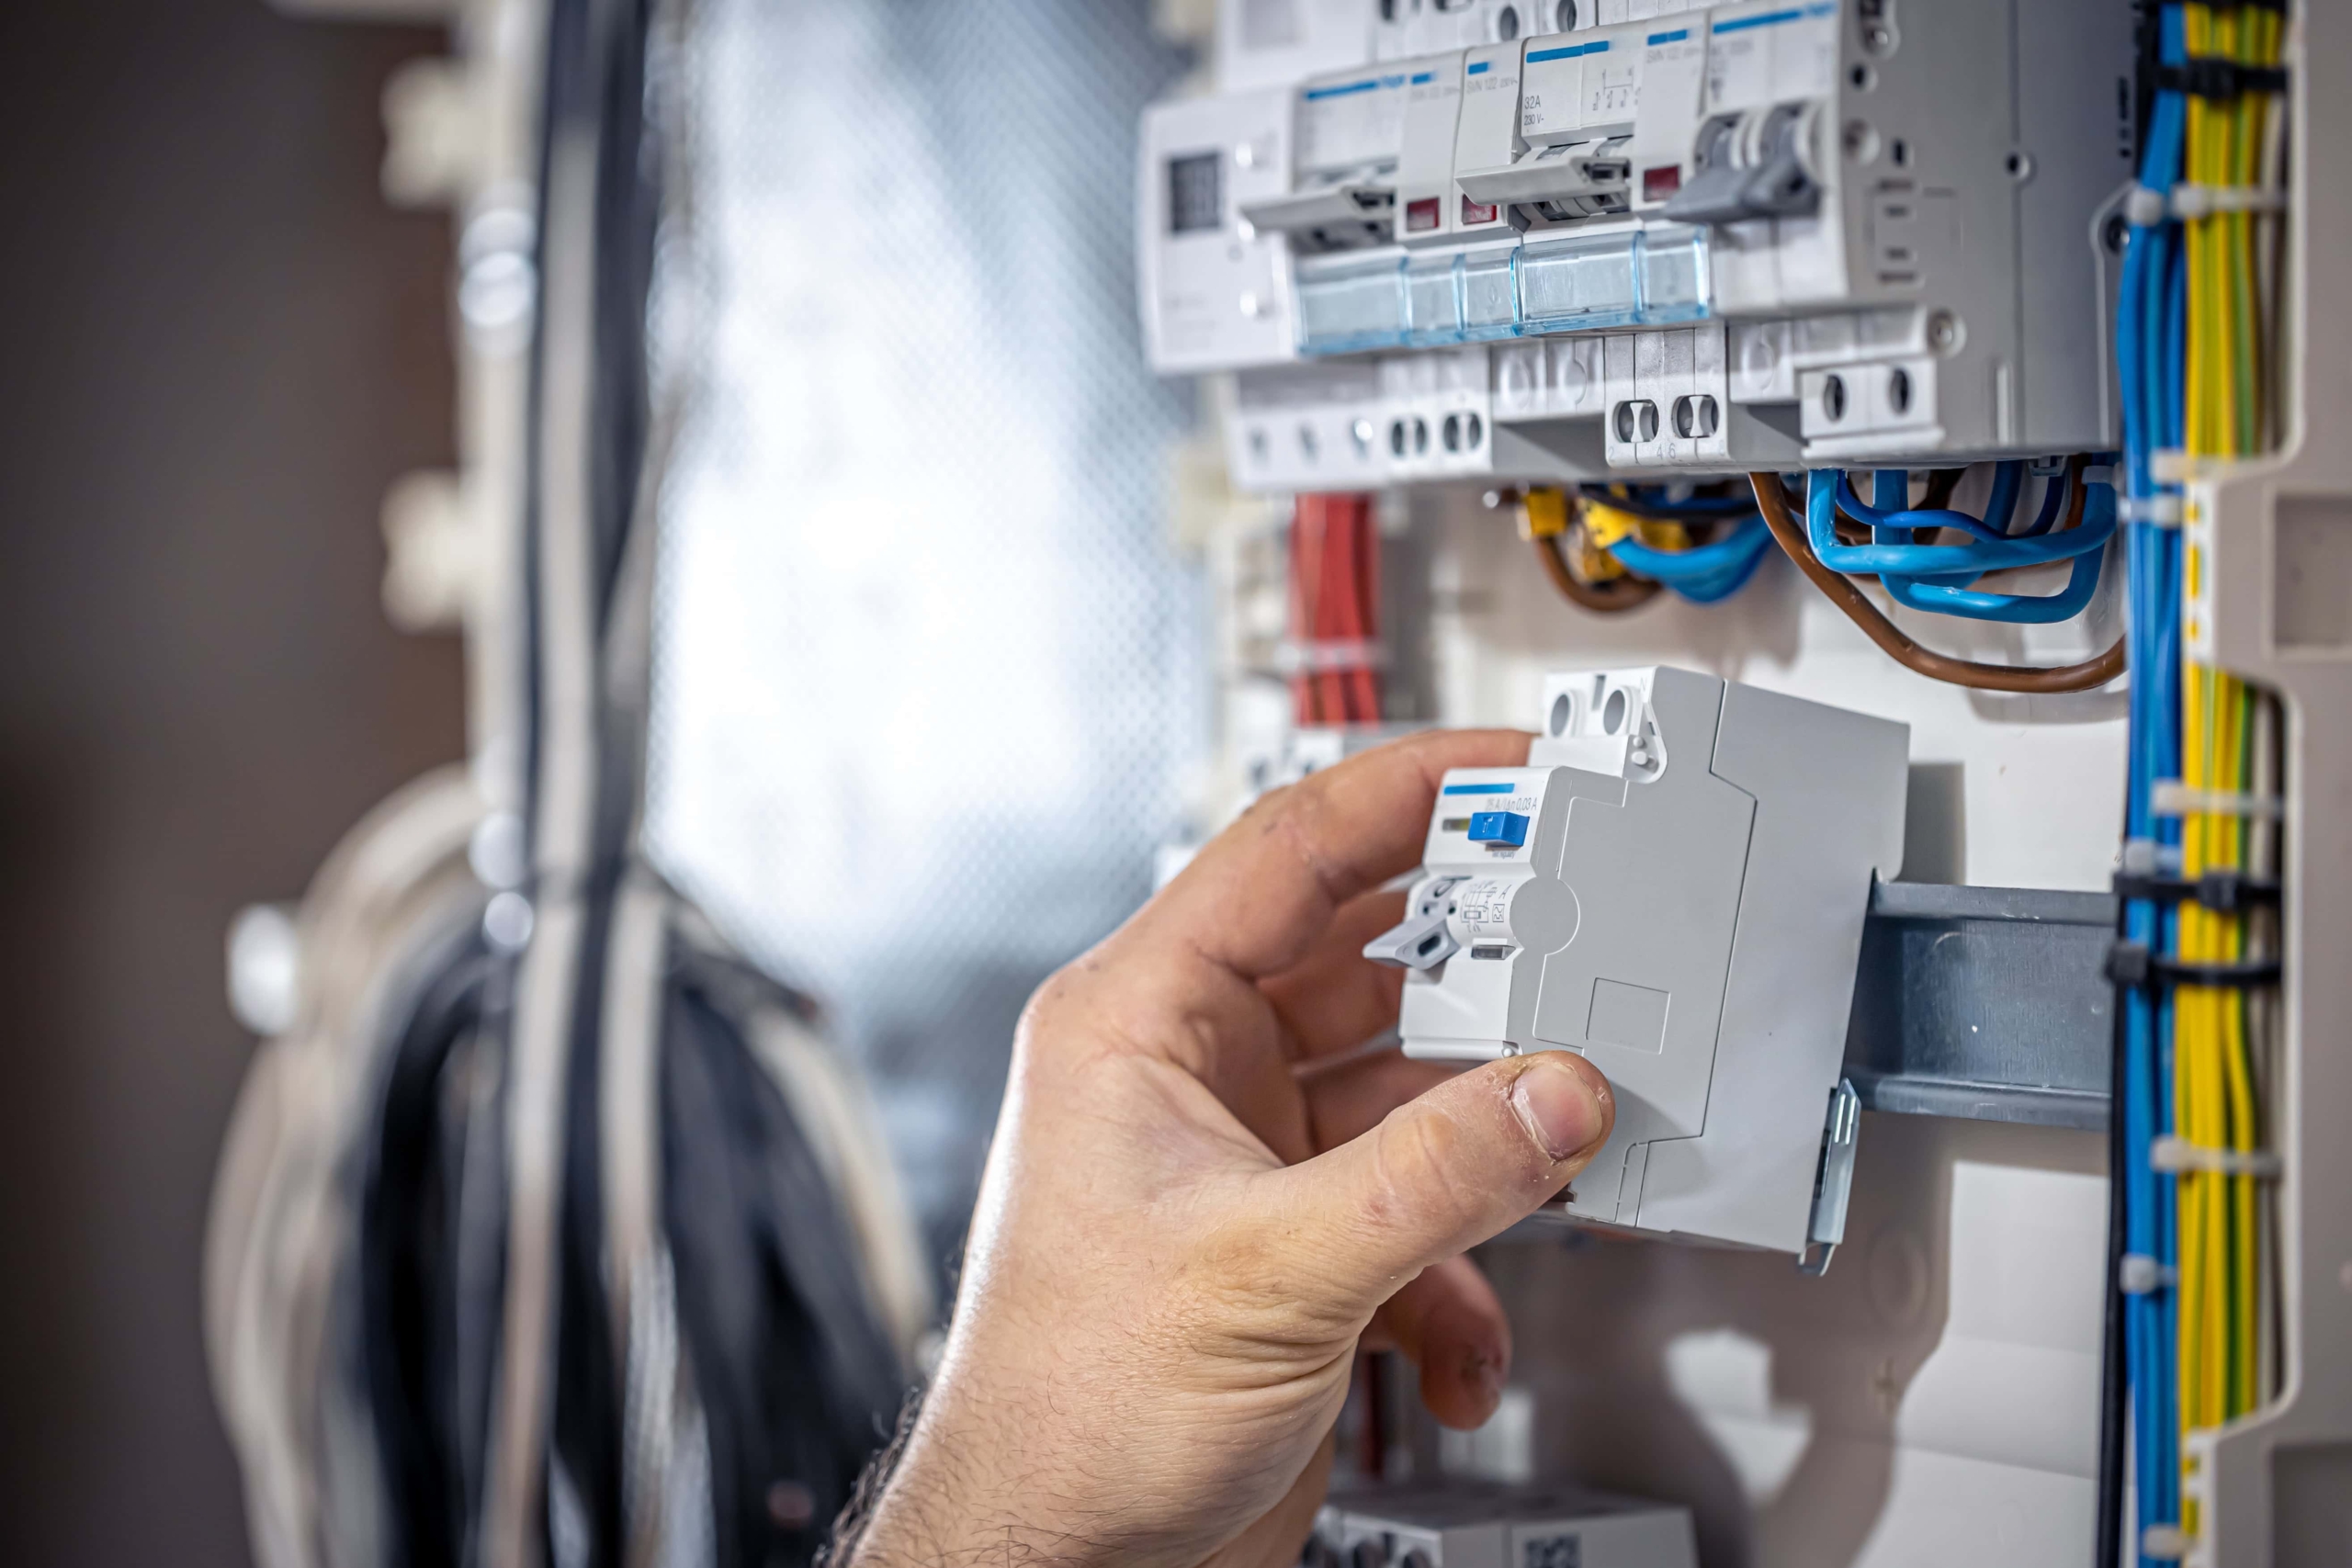
How to Install Your GFCI Breaker?
To install a GFCI Breaker follow the following steps:
-
Turn off the switch of the main breaker
-
Connecting the GFCI breaker
-
Fit the breaker into the panel
-
Test the breaker
Remove the ‘dead front cover’ of the panel while taking care to not touch any wires inside. Once you have turned off the power inside the panel, check wires and circuit breakers by using a non-contact voltage tester to confirm. Inspect both the terminals on a double-pole breaker and ensure that the breaker is switched on. The tester should indicate zero value for voltage for all the tests. If required, create an opening for the new GFCI breaker by removing one of the knockout plates on the panel cover.
Switch it off and connect the hot circuit wire to the ‘load’ or ‘hot’ screw terminal on the breaker with the help of a screwdriver. Next, connect the neutral circuit wire to the ‘neutral’ screw terminal on the GFCI. Connect the breaker’s coiled white neutral wire to the neutral bus bar on the service panel. An open screw terminal on the bus bar should be used. Don’t connect more than one wire to a single terminal. Ensure that all of the connections are tight.
A majority of ground fault breakers come with a notch on the outer end which fits into a mounting rail on the outer side of the service panel. The inner end of the breaker fits into a clip or a tab on the panel’s hot bus bar.
You need to reinstall the panel cover, turn off all the branch circuit breakers and any other appliances which run with the new breaker. Now switch the main breaker and then turn on each branch breaker individually including the new GFCI. Follow the instructions of the manufacturer for testing the GFCI.
Ground Fault circuit breakers are necessary as without them the risk of electrical fires and shocks increase manifolds. Get in touch with our experts to know the correct choice and installation procedure for your home.
D&F Liquidators has been serving the electrical construction materials needs for more than 30 years. It is an international clearinghouse, with 180,000 square facility located in Hayward, California. It keeps an extensive inventory of electrical connectors, conduit fitting, circuit breakers, junction boxes, wire cable, safety switches etc. It procures its electrical materials supplies from top-notch companies across the globe. The Company also keeps an extensive inventory of electrical explosion proof products and modern electrical lighting solutions. As it buys materials in bulk, D&F is in a unique position to offer a competitive pricing structure. Besides, it is able to meet the most discerning demands and ship material on the same day.


