Table of Contents
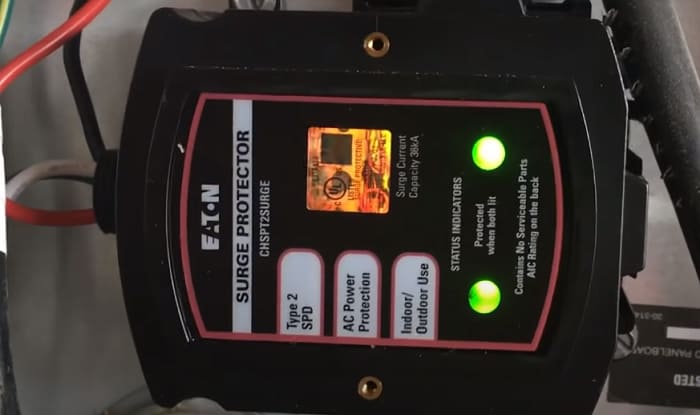
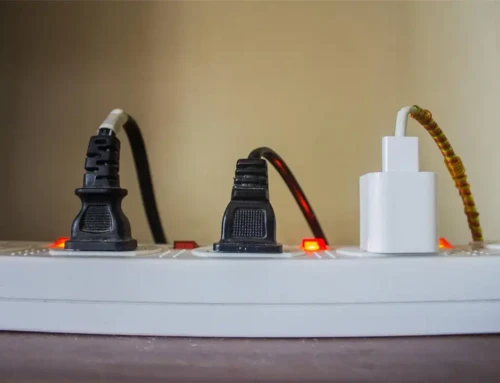
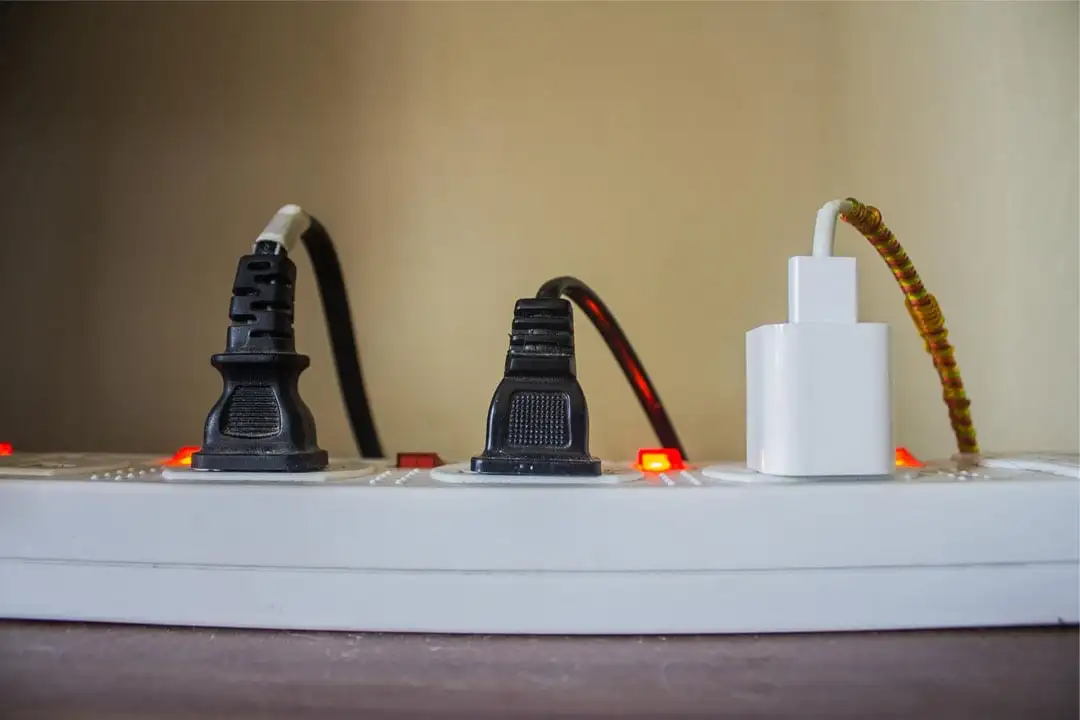
If you live in an old house, the chances are that your home either doesn’t have any grounding or the two-pronged plugs are without any grounding wire. These arrangements can’t protect your expensive gadgets from the power surge. And do you know a power surge can damage your multiple electronic gadgets in few minutes? However, an SPD (surge protector device) can be your solution.
Though you can easily plug a surge protector in selected outlets, it is advisable to get all the outlets of your house covered. But how to install a whole-house surge protector? You can do that by installing an SDP in the main panel. If you choose to do it yourself, the step-by-step guide is coming your way, along with all the precautions and tools required for the process.
Precautions
Don’t forget to take these necessary precautions before starting the work:-
- Always switch off the main power source before starting work.
- Use a cardboard protector as a barrier to safeguard yourself from any wire which is live by any chance.
- Wear all the required safety gear like safety goggles, insulated gloves, etc.
- Before you begin to unscrew the main panel, remove all jewellery and metal piercing.
List of Tools
Following are the tools that should be handy with you while installing the surge protector in the main panel.
- Pliers
- Voltage detector
- Hammer and nails
- Flathead screwdriver and screws
- Electrical tape
- Wire strippers
- Flashlight
- Cordless drill or driver
A Step-by-step guide to Install the Surge Protector in the Main Panel Box
Once you’ve taken all the precautions and you are ready with all the tools, you can start the 4 step process as mentioned below:-
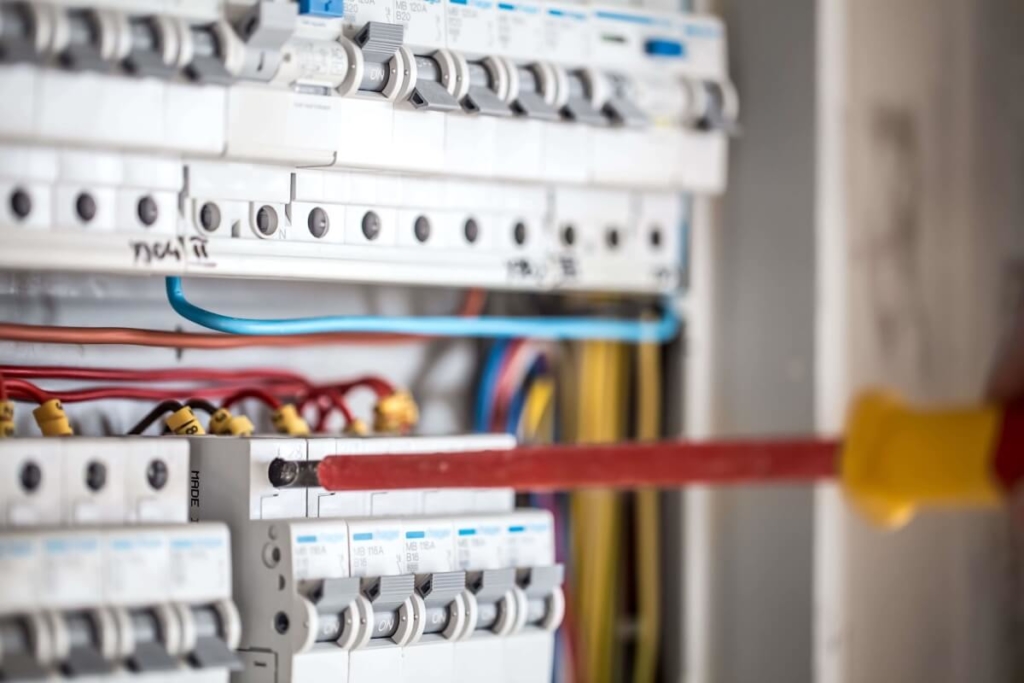
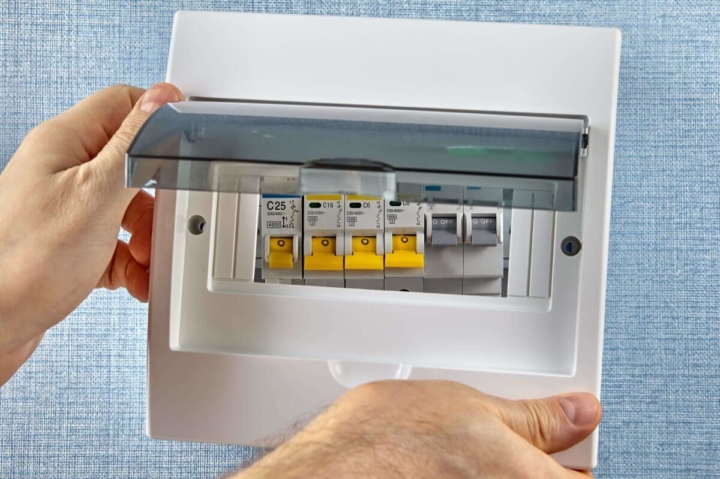
- Switch-off the Main Power:It is vital to switch off the main switch to cut off the panel’s power and the entire house before starting the work. Now open the panel door by unscrewing the front panel. Use a voltage detector to ensure that there is no power flowing inside the board.
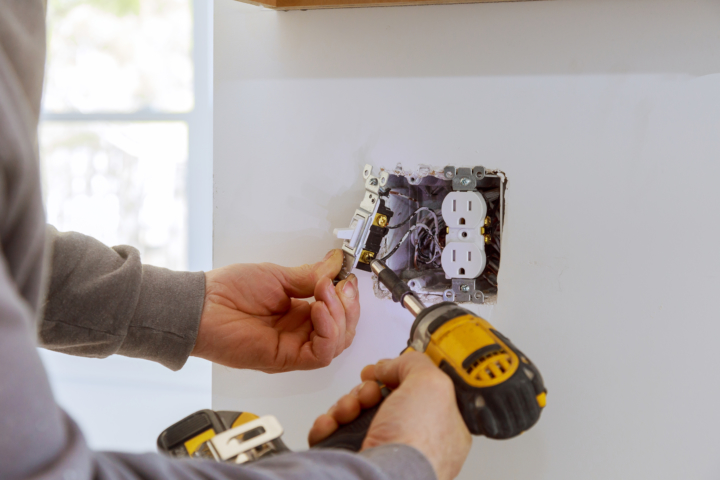
- Fix the Surge Protector: Gently knock out a hole from the small circular knockout areas on the panel’s side. Then take the surge protector wire through it to the front of the panel. Once the wire is through, secure the SDP in the wall with the help of a screw and screwdrivers. Mount the SDP outside the panel so that you can check it without opening the panel.

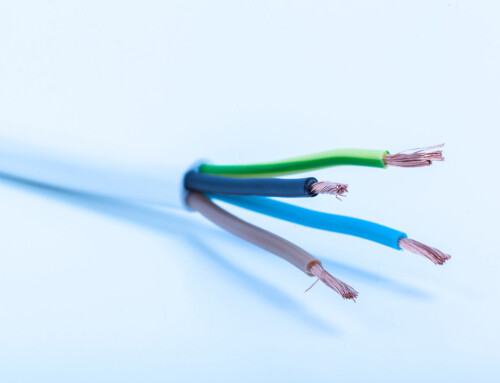
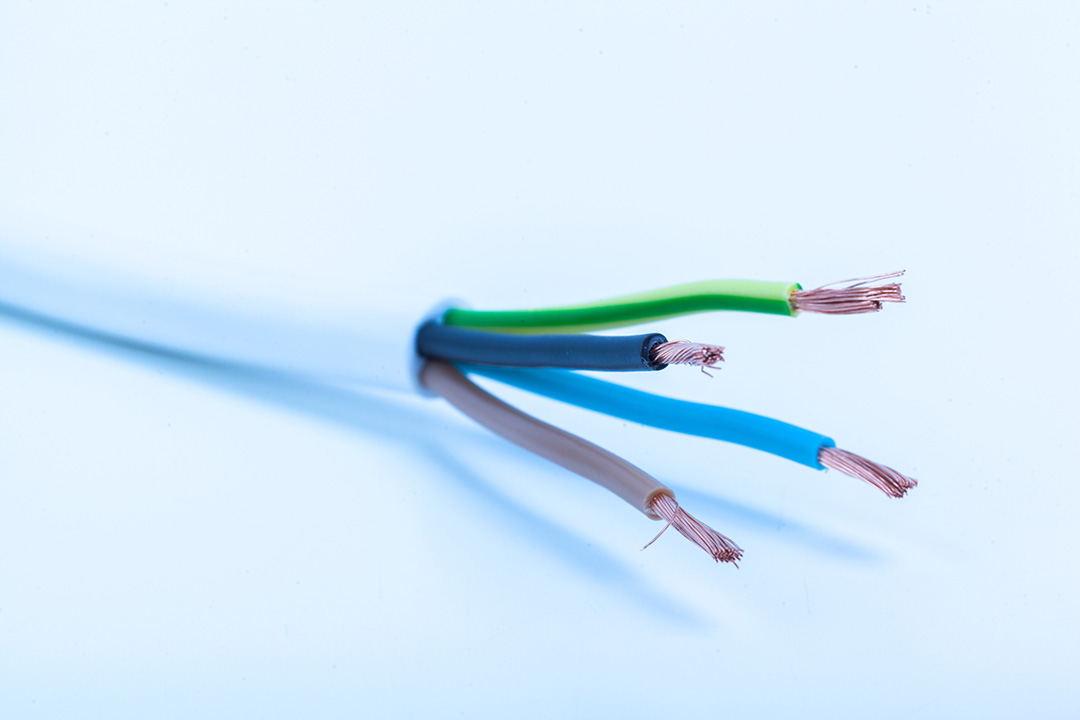
- Connect the Surge Protector Wires: Strip the coating at the end of the wire with the help of the stripper that reads 14 AWG. The green wire needs to be connected to the ground bus bar, the neutral white wire to the neutral bus bar, and the black wires to the dipole circuit breaker. Mount it close to the main power wires.
- Replace the Panel Cover & Check the SDP: You can replace the electric panel cover once all the wires are correctly connected. Screw-in such a way that there are no gaps left. You can now turn on your main breaker. Test the SDP by flipping the dipole breaker switch, which is connected with the black wires. Its digital display should show the details according to its manual.


Parting Words!
You can get top-quality surge protectors and all other kinds of electric material from us at D&F Liquidators. We are successfully serving the electrical material needs of our clients since the last 30 years. Call us at 800-558-9600.

