Table of Contents
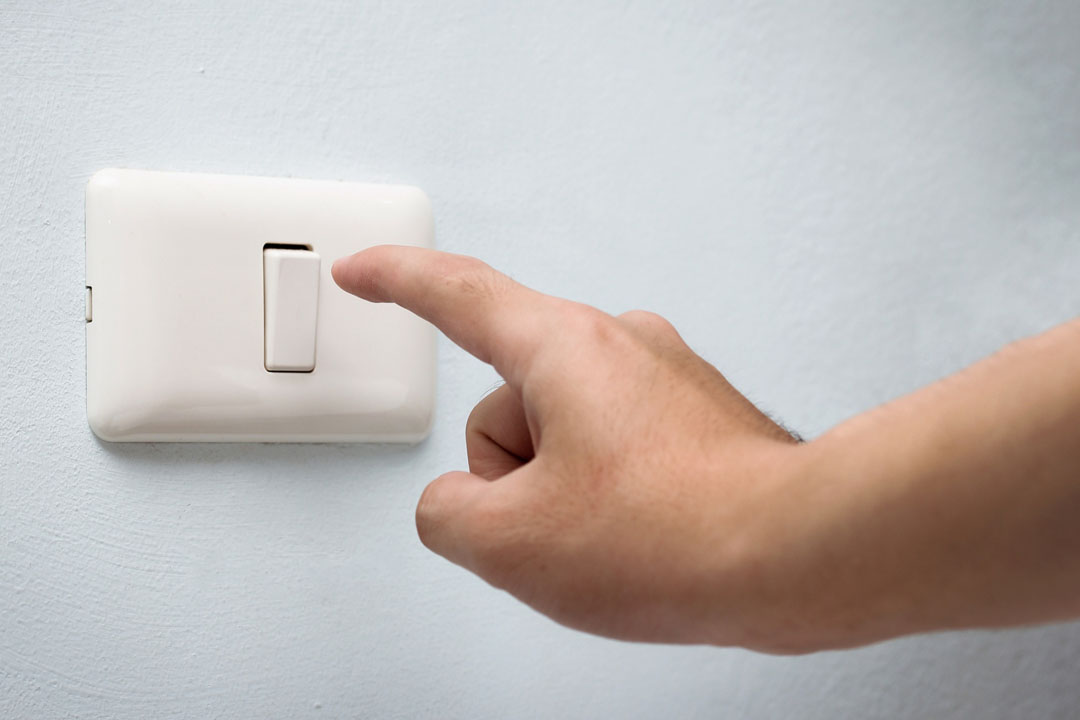
Have you ever walked into a dark room, fumbling for the light switch? Or traveled down a long hallway, wishing you could illuminate both ends? A three-way light switch might be just what you need.
Curious about how to wire a 3-way light switch? This blog post is here to explore what these switches are all about, how they work, and provide you with handy wiring tips. It also covers the essential tools and materials you need for a smooth and safe installation.
Get ready to tackle this project with confidence!
What is a 3-way Light Switch?
A three-way light switch is a specific form of switch that allows you to operate a light fixture or a group of lights from two different locations. Unlike a normal single-pole switch, which functions from a single location, a 3-way switch provides extra control options.
The majority of homes might benefit from 3-way switching in locations with numerous entries, demonstrating this component’s practical utility.
The Design and Operation of a 3-way Light Switch
A 3-way light switch consists of two switches connected by a pair of traveler wires. Understanding these components can help you grasp the switch’s functionality.
- Common Terminal: Connects to the light fixture and serves as the primary point of control.
- Traveler Terminals: Two terminals that let current flow between switches allow control from many places. When you turn on either switch, power is sent to the light fixture independent of the position of the other switch. This innovative wiring arrangement allows you to manage your lighting easily.
Common Applications of a 3-way Light Switch
3-way switches are extremely versatile and can be utilized in a variety of applications across your home. Here are some of their common applications:
-
Hallways
You can achieve greater convenience by installing a 3-way light switch at either end of a long hallway, which enhances.
-
Large Rooms With Multiple Entrances
In spacious environments with multiple entry points, such as living rooms or conference rooms, 3-way switches enable control from different access points. This ensures that no matter where you enter, you can easily manage the lighting.
-
Open-plan Living Spaces
With the rise of open-plan living spaces, 3-way switches offer flexibility in adjusting lighting based on activity zones. You can create a cozy atmosphere in the dining area while keeping the living room bright for guests.
-
Staircases
Installing 3-way switches at both the top and bottom of staircases enhances safety. This allows you to easily turn lights on or off without having to navigate the dark.
-
Long Corridors
Long corridors can benefit greatly from 3-way switches, which allow you to turn on and off the lights from either end. This is especially important in larger residences and commercial structures.
-
Bedside Tables (With Dimmer)
Consider installing three-way switches with dimmers on either side of the bed. This design allows couples to regulate their bedside lamps independently. It provides a more personalized lighting experience.
Tools Required to Wire a Light to a 3-way Switch
Before starting any wiring project, make sure you have these necessary tools on hand:
- Non-contact Voltage Tester: To ensure safety, verify if the wires are live.
- 4-in-1 Screwdriver: Ideal for a variety of screws.
- Wire Strippers: Used to prepare wire ends for connecting.
- Utility Knife: For cutting wires and insulation.
Materials Required to Wire-up a 3-way Light Switch
You also need particular items to complete the installation. Here’s a checklist for your convenience:
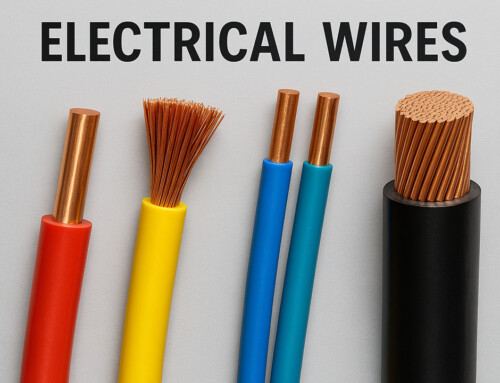
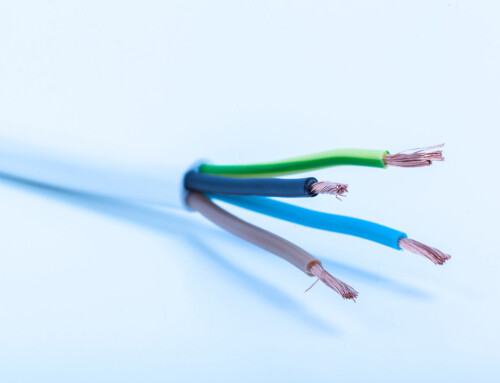
- 14-2 Nonmetallic-sheathed Cable (Type NM-B): Used in conventional wiring.
- 6-in. Copper Pigtails: Used to connect wires.
- 14-3 Nonmetallic-sheathed Cable (Type NM-B): For connecting switches.
- Light Fixture: The light you want to regulate.
- Electrical Tape: Used to insulate connections.
- Wire Nuts: Used to secure wire connections.
- 3-way Switches (2): You will need two for this setup.
How to Wire a 3-way Light Switch?
Now that you have your tools and materials ready, let’s break down the step-by-step process of wiring a 3-way light switch:
-
Turn Off the Power for Safety
Before you begin any electrical work, make sure the power is turned off at the circuit breaker. Use a non-contact voltage tester to ensure that the power is turned off.
-
Remove the Wall Cover
Using a screwdriver, carefully remove the wall plate that covers your current switch. This enables you to access the wiring.
-
Detect the Wires
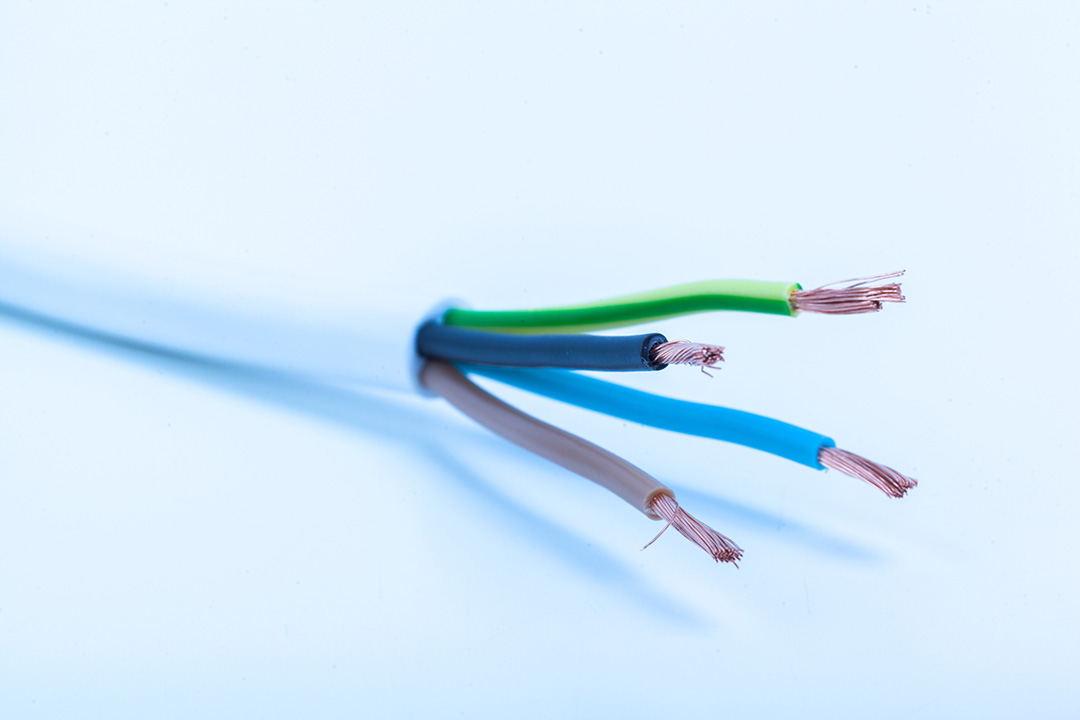
You should notice three wires attached to the existing switch. Typically, there is one common wire (usually black) and two traveler wires (generally red and white). Take a moment to see their connections.
-
Remove the Old Switch
Unscrew the present switch and carefully remove it from the wall. Make sure you don’t damage any cables in the process.
-
Prepare the Wires to Connect to the New Switch
Use wire strippers to remove approximately ½ inch of insulation from each wire’s ends. This sets them up for a secure connection to the new switch.
-
Connect the New Switches
Connect the cables to the new 3-way switches using the previously indicated connections:
- Connect the common wire to the common terminal on one switch.
- Connect the traveler wires to the traveler terminals of both switches. It makes no difference which traveler visits which terminal.
-
Twist and Tape the Wires
Once all connections are tight, twist and tape the wire nuts around them to guarantee insulation and security.
-
Mount the Switches
Carefully push the wired switches back into the wall box and screw them in place. Fix the wall cover tightly over the switches.
Finally, reconnect the electricity to the circuit breaker and test your new 3-way switch configuration. You should now be able to control the light fixture from both places simultaneously.
To summarize, understanding and installing a 3-way light switch can greatly improve the ease and safety of your house lighting. While it may appear frightening, following this tutorial step by step assures not only your safety but also the project’s success.
Accurate wiring is critical since errors can lead to electrical risks. If you are uncertain at any time, don’t hesitate to seek professional help.
Ready to make your home safer? D&F Liquidators has all the electrical supplies you need for grounding projects, from grounding wires to outlets. Explore our collection today and ensure your home is equipped to handle your electrical needs safely.
Frequently Asked Questions (FAQs)
What can a 3-way switch carry out?
A 3-way switch allows you to control one or more lights from two distinct locations, making it very useful.
What are the ideal places or circumstances for using a 3-way switch?
You could choose to put a 3-way switch in areas with dual access points, such as the top and bottom of stairs, your kitchen, garage, or even your back porch.
How is a 3-way switch different from a single-pole switch?
The primary distinction between a 3-way switch and a single-pole switch is that the latter only activates lights from one location—it has one wire coming in from the power supply and one going out to the light(s). In contrast, a 3-way switch has additional terminals for connecting to another 3-way switch.
Can you utilize a 3-way switch like any other switch?
The answer is yes! Simply connect it to its common terminal and one passenger terminal, leaving the other empty. However, keep in mind that this solution may not be cost-effective because it is essentially more than you require for simple lighting control.
