Concealed conduit electrical wiring systems are a popular choice in domestic premises as they are aesthetically appealing. They are the most commonly used house electrical wiring system as it protects the wires from external damage and increases their longevity.
The wires are installed in 4 steps.
Step 1: Laying the electrical conduits in the slab
Step 2: Laying the electrical conduits in the wall
Step 3: Installation of Switch Boards Back Boxes
Step 4: Installation of Distribution Boards
Let us look at the step-by-step installation procedure of a concealed conduit electrical wiring system.
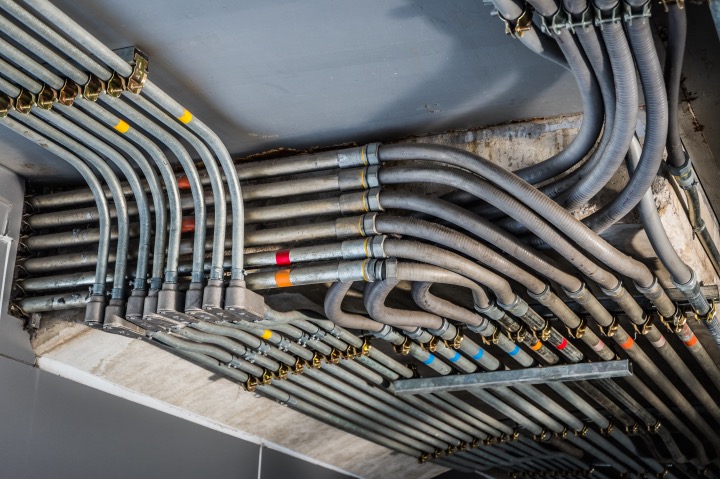
Step-1: Laying of Electrical Conduits in Slab
- The slab conduits for house wiring should be 2 mm thick and 25 mm in size for PVC conduits. Lay the slab conduits between the top and bottom reinforcement.
- Use only deep junction boxes in slabs. Properly bind the PVC conduits using the binding wire.
- It would be ideal to follow the color coding for conduits for electrical wires and data such as LAN and telephone wire. Use grey PVC pipes for data, black PVC pipes for electrical wires and PVC solvent for joining the accessories
- Check the wall drops carefully and determine the concrete thickness.
- Check the conducting as per the service drawings and see where the switchboards are located and how many points need to be installed at each location
- Take special precautions while concreting the slab
- Replace all the broken pipes
- Ensure that all the joints are watertight
- Once the slab and beam are de-shuttered, pass the GI wiring immediately. Document any choke up or alternate route for future references
- Provide all the necessary sleeve in beams, columns prior to slab casting as per electrical & air-conditioning
- Provide the pull boxes at suitable locations
- Don’t cluster the pull and junction boxes at one place. Arrange them so that they can’t be seen easily from heavy movement areas as per the electrical drawings
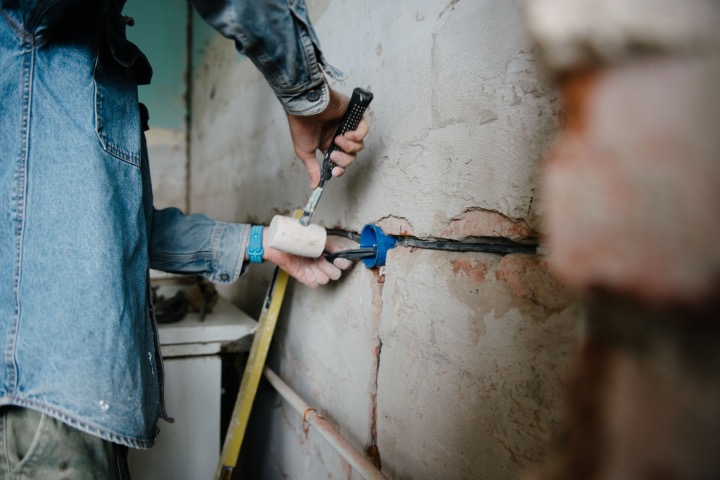
Step-2: Laying of Electrical Conduits in Wall
- Carry out the concealed conduit work after the construction of masonry walls but before the plastering work starts
- Once the curing of brickwork is completed, carry out the chasing work. Ideally, maintain a gap of 7 days between the two activities
- Do the wall chasing with wall cutters only as this would avoid damage to the walls
- Fix the electrical conduits with the approved clips to ensure proper routing and wiring
- Once the conduits, boxes and accessories are fixed, fill the chiseled surface with cement mortar and chick mesh wrapped around the conduits
- Start the wall conducting activity with level marking on the wall, keeping the height above FFL(Finished floor level) in mind
- Limit the width of chasing as per the number of conduits
- The depth of chasing should be at least 10 mm from the masonry wall to have the conduit recess
- Make sure that all the horizontal conduit runs are straight at the box level. The light point conduit should run straight vertically to the switch box. Make sure no wall conduit is taken haphazardly
- Don’t use any elbows or bends. Use a spring to bend if you want to change the direction of the pipe.
- Don’t run power conduits near any communication line
- Run the conduits above the false ceiling with proper support. Don’t rest them on the false ceiling in any case. Seal the vertical runs with open ends at the top if you have false ceiling work
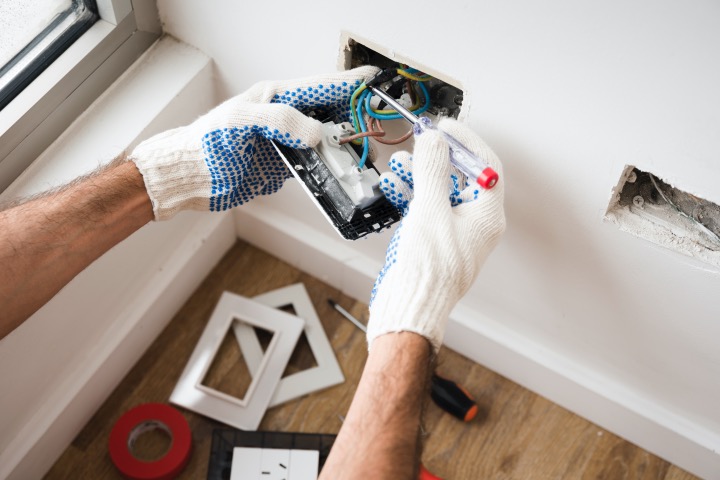
Step-3: Installation of Switch Boards Back Boxes
- Fix the concealed switchboard properly in level based on the architect’s design, for example, distance and height from the finished floor level (FFL)
- Ensure that the gap between the concealed switchboards is uniform. Maintain the same uniformity across all the installations.
- The switchboards must be readymade modular type metal boxes of the approved make. Fix the concealed box 3 mm below the plastered surface.
- Finish the box fixing before the plastering work while doing the wall conduiting. Fill the boxes with thermocol while the plastering work is being done.
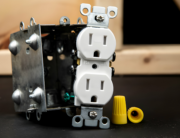
Step-4: Installation of Distribution Boards
- Conceal the distribution board before the plasterwork
- Fix the DB box in a proper line and level the recess provided in the brickwork
- Ready the box as per the design such as fixing the number of conduits entering the distribution box
- Place the PVC pipes from the given entry holes only

Make sure that you go through all these steps in an orderly manner for the successful installation of the concealed electrical wiring system. Our experts at D&F Liquidators, Inc. can help you with the successful installation of concealed electric wiring at your home. Do contact us to know more details about the same.
D&F Liquidators has been serving the electrical construction materials needs for more than 30 years. It is an international clearinghouse, with 180,000 square facility located in Hayward, California. It keeps an extensive inventory of electrical connectors, conduit fitting, circuit breakers, junction boxes, wire cable, safety switches etc. It procures its electrical materials supplies from top-notch companies across the globe. The Company also keeps an extensive inventory of electrical explosion proof products and modern electrical lighting solutions. As it buys materials in bulk, D&F is in a unique position to offer a competitive pricing structure. Besides, it is able to meet the most discerning demands and ship material on the same day.


