
Electrical issues can come in one of so many forms. If a machine fails to start up when it is powered on, then the problem is most likely to be an electrical fault. It could be a mechanical issue but then this article is going to address a very common fault in electrical circuits. An electrical circuit fault could be located either in the control circuit or in the power circuit. On top of this, it could take one of the many forms as aforementioned. It could be an open circuit fault or a short circuit. These are among the most common faults in electrical systems.
Troubleshooting an open circuit fault in the control circuit might sound like such a huge task. However, if you have the guidelines and you follow them properly, it should not be so. The following is a general procedure that will help you start at the center of the problem area and by doing so gives you an idea of where you should go. The control transformer is always a great place to start because it is found right at the heart of the circuit. It is also part of both the power and control circuits.
Troubleshooting procedure
Basically, an open circuit fault is any fault that will halt the operation of a machine due to an open component or wire. The process of troubleshooting an open circuit in the control unit will generally involve:
Step 1: Getting an overview of the circuit
You must analyze the schematic diagram of the circuit in order to get a general overview.
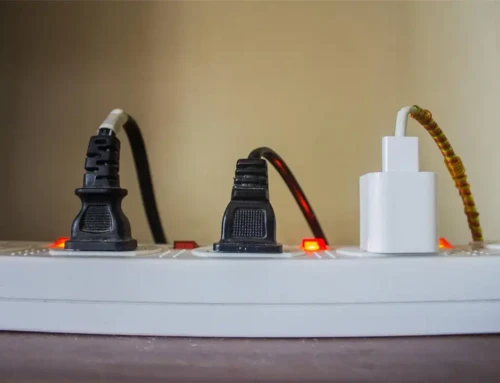
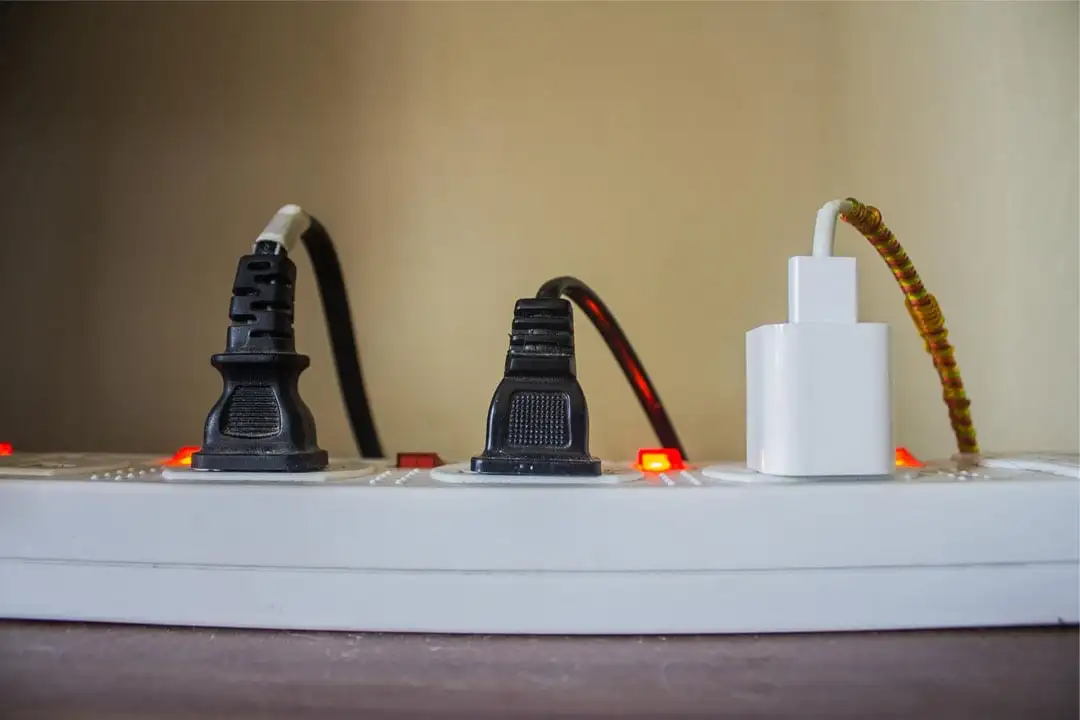
Step 2: Open the control panel carefully
Voltage checks will be carried out so you must have the voltmeter with you. Verify before continuing the functioning of the voltmeter.
Step 3: Check voltage
Step three involves checking the voltages at the X1 and X2 terminals at the secondary of the control transformer. If the correct voltage is absent then there is a problem in the power circuit. In case the correct voltage is present, the OL is not tripped and the contractor is not energized then the problem lies in the control circuit. It is also possible that the problem is in the power circuit again if the correct voltage is present and the contractor is energized.
The correct voltage is present at X1 and X2, the OL is not tripped and the contractor is also energized. This means that the problem is in control panel – it is an open circuit fault within the panel. The goal now is to troubleshoot the system logically till the correct voltage is lost.
Step 4: Check the voltage on terminal X1 at the top of the fuse of the control circuit and the X2 at the secondary of the control transformer. If the correct voltage is still present, then continue to step 5. If the voltage is absent then you can conclude that X1 wire is open from the top of the fuse to the terminal X2 on the secondary of the transformer.
Step 5: Check the voltage on X1 at the top of control circuit’s fuse and X2 at the top of the neutral link. If the correct voltage is present then proceed to step 6. If it is not present it means that the X2 wire is open from the top of the neutral link to the terminal on the secondary of the transformer.
Step 6: Check the voltage on wire 1 at the bottom of the control fuse and the X2 voltage at the top of the neutral link. If the correct voltage is still present, continue to step 7. If the voltage is not present, the control fuse is open, and if that is the case, then either there is a ground fault or a short circuit. In case the fuse is not open, then there is an open circuit fault. This is the first indication that the fault is an open circuit fault.
Step 7: You should check the voltage on wire 1 at the bottom of the control fuse and wire 2 at the bottom of the neutral link. Continue to step 8 if the correct voltage is present. The neutral link is open if the correct voltage is not present.
Step 8: Use wire 2 as the reference since the voltage at the bottom of the fuse (Point A) is the correct value. Make your measurements from the left to the right and then top to bottom till you find the voltage absent. If the correct voltage is still present, continue to step 9.
Step 9: Check the voltage at point B, the left side of 1OL while using wire 2 as the reference. Continue to step 10 if correct voltage is present. If the correct voltage is absent, then it means that wire 1 is open from the bottom of the fuse to the left of closed contacts for 1OL.
Step 10: Proceed to check voltage at point C which is the right side of 1OL using wire 2 as the reference. You will proceed to step 11 if the correct voltage is present. When the correct voltage is abject then the normally closed contacts for 1OL are the ones that are open.
Step 11: Check the voltage at point D which is the top of terminal 3 still using wire 2 as the reference. Continue to step 12 if the correct voltage is present. If the correct voltage is not present then it means that wire 3 is open between the top of terminal 3 and the right side of 1OL.


