A circuit breaker trips for many reasons, e.g., short circuit, overloading of the circuit, ground fault problem, or wiring issues. It may also get weak and trip or fail due to wear and tear of daily load. So what if there comes a need to replace your circuit breaker? We are here to educate you on how to replace the circuit breaker.
How to Replace the Circuit Breaker
It’s a simple task if you work it through the following steps:-
-
Note the Identification Number

You need the new circuit breaker in the same size, shape, and brand as your existing one, which is not working now. It belongs to the same brand as your breaker panel. Get its identification number from the reset lever. Buy a breaker with the exact specification because only the circuit breaker with the same specifications can accurately connect to the holder.
-
Ensure Dry Floor & Surroundings
It’s a thumb rule of electrical safety that you should keep water away from live wires and sockets. Water and electricity at the same place can be hazardous. Thus, before you attempt to replace your circuit breaker, make sure that the floor and other surroundings are dry.
-
Cut the Main Power Off

You might’ve seen a professional replacing the circuit breaker without turning the main power off. Don’t follow that example. As an amateur, you should always turn the power off. When you switch off the main force, you ensure that the electricity doesn’t reach hot bus bars. Otherwise, the current running down through the service panels can be dangerous for you.
-
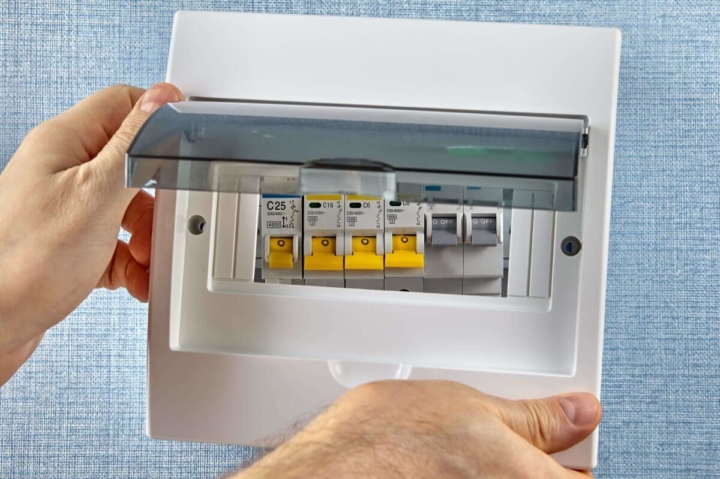
Remove the Cover Plate of Breaker Panel

Start by removing the corner screws from the panel cover plate. Leave the middle screws as of now. Now hold the cover panel from the corners and remove the middle screw. This way, you will prevent the cover plate from falling. Do this process slowly and carefully.
-
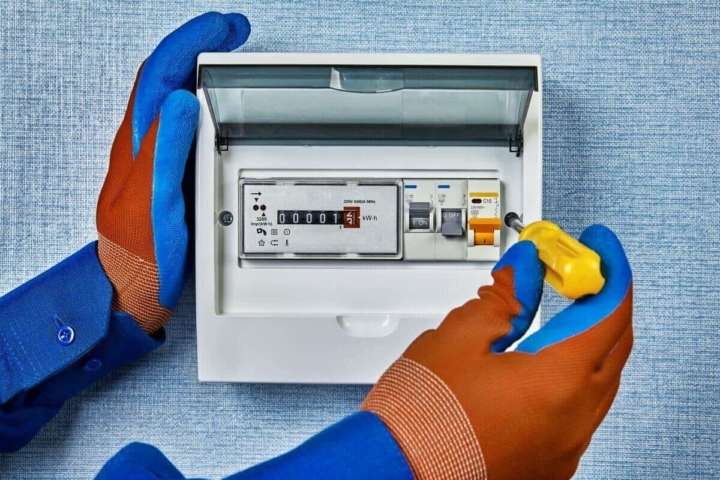
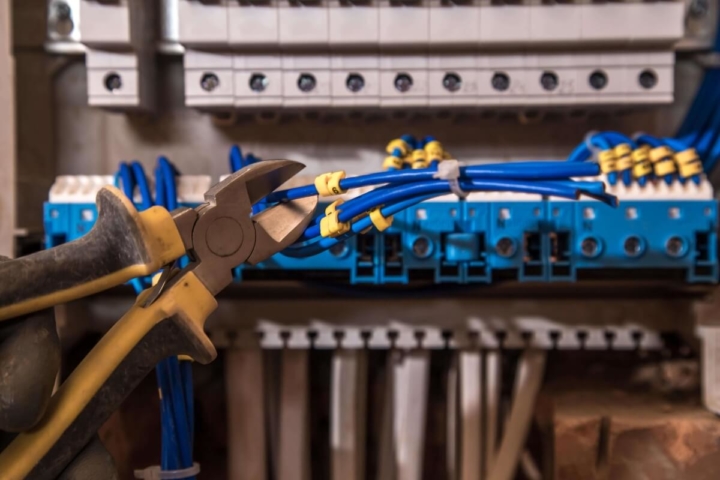
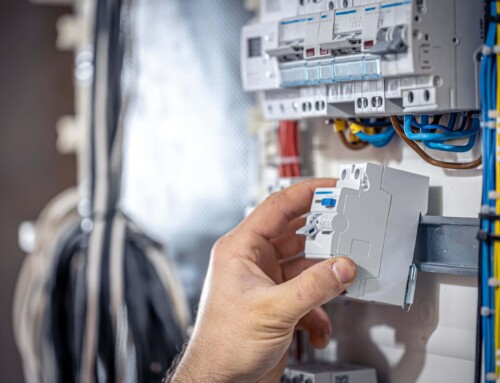
Remove the Faulty Circuit Breaker
First of all, flip the reset lever to switch off the breaker. Carefully untangle the black insulated circuit wire connected to the breaker from the side of the panel. Now you can grip the edge of the breaker and pull it outward while rotating it. The breaker should be in your hand in few rotations.
-
Disconnect All Wires
There will be other wires like neutral circuit wire and coiled white wire connecting the faulty breaker if you are replacing AFCI or GFCI circuit breaker. These wires are there to hook the breaker with the bus bar. You need to loosen the screw set in these wires to extract them from the lug.
-
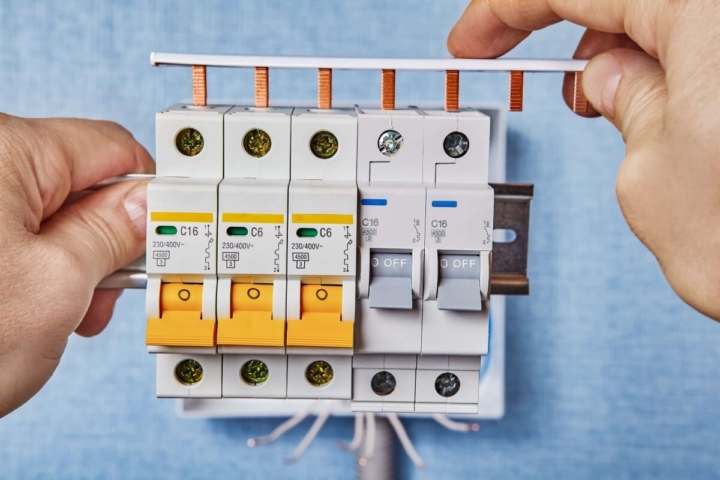
Connect Panel Wires to New Circuit Breaker
The black wire will get connected to the breaker by attaching the bare end of the wire under the load or load power terminal of the breaker. Then tighten it with the screw. The white wire needs to be connected to the neutral or load neutral screw terminal on the circuit breaker in the same way. You might find one or more of these types of wires in your circuit panel. Afterwards, join the coiled white wire attached to the breaker to the neutral bus bar in the panel.
-
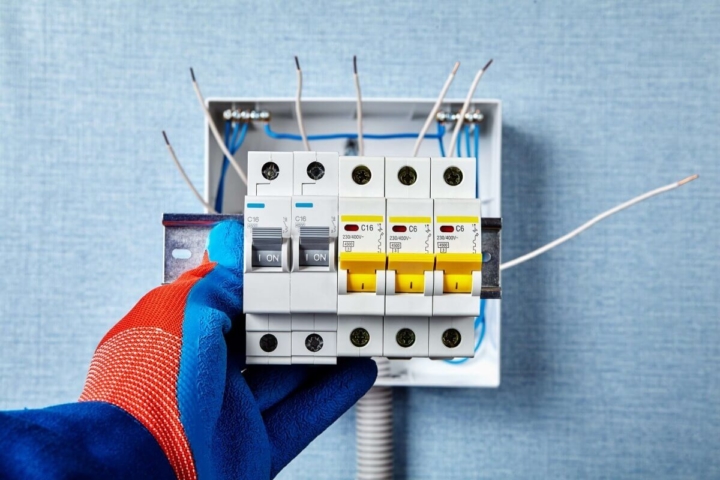
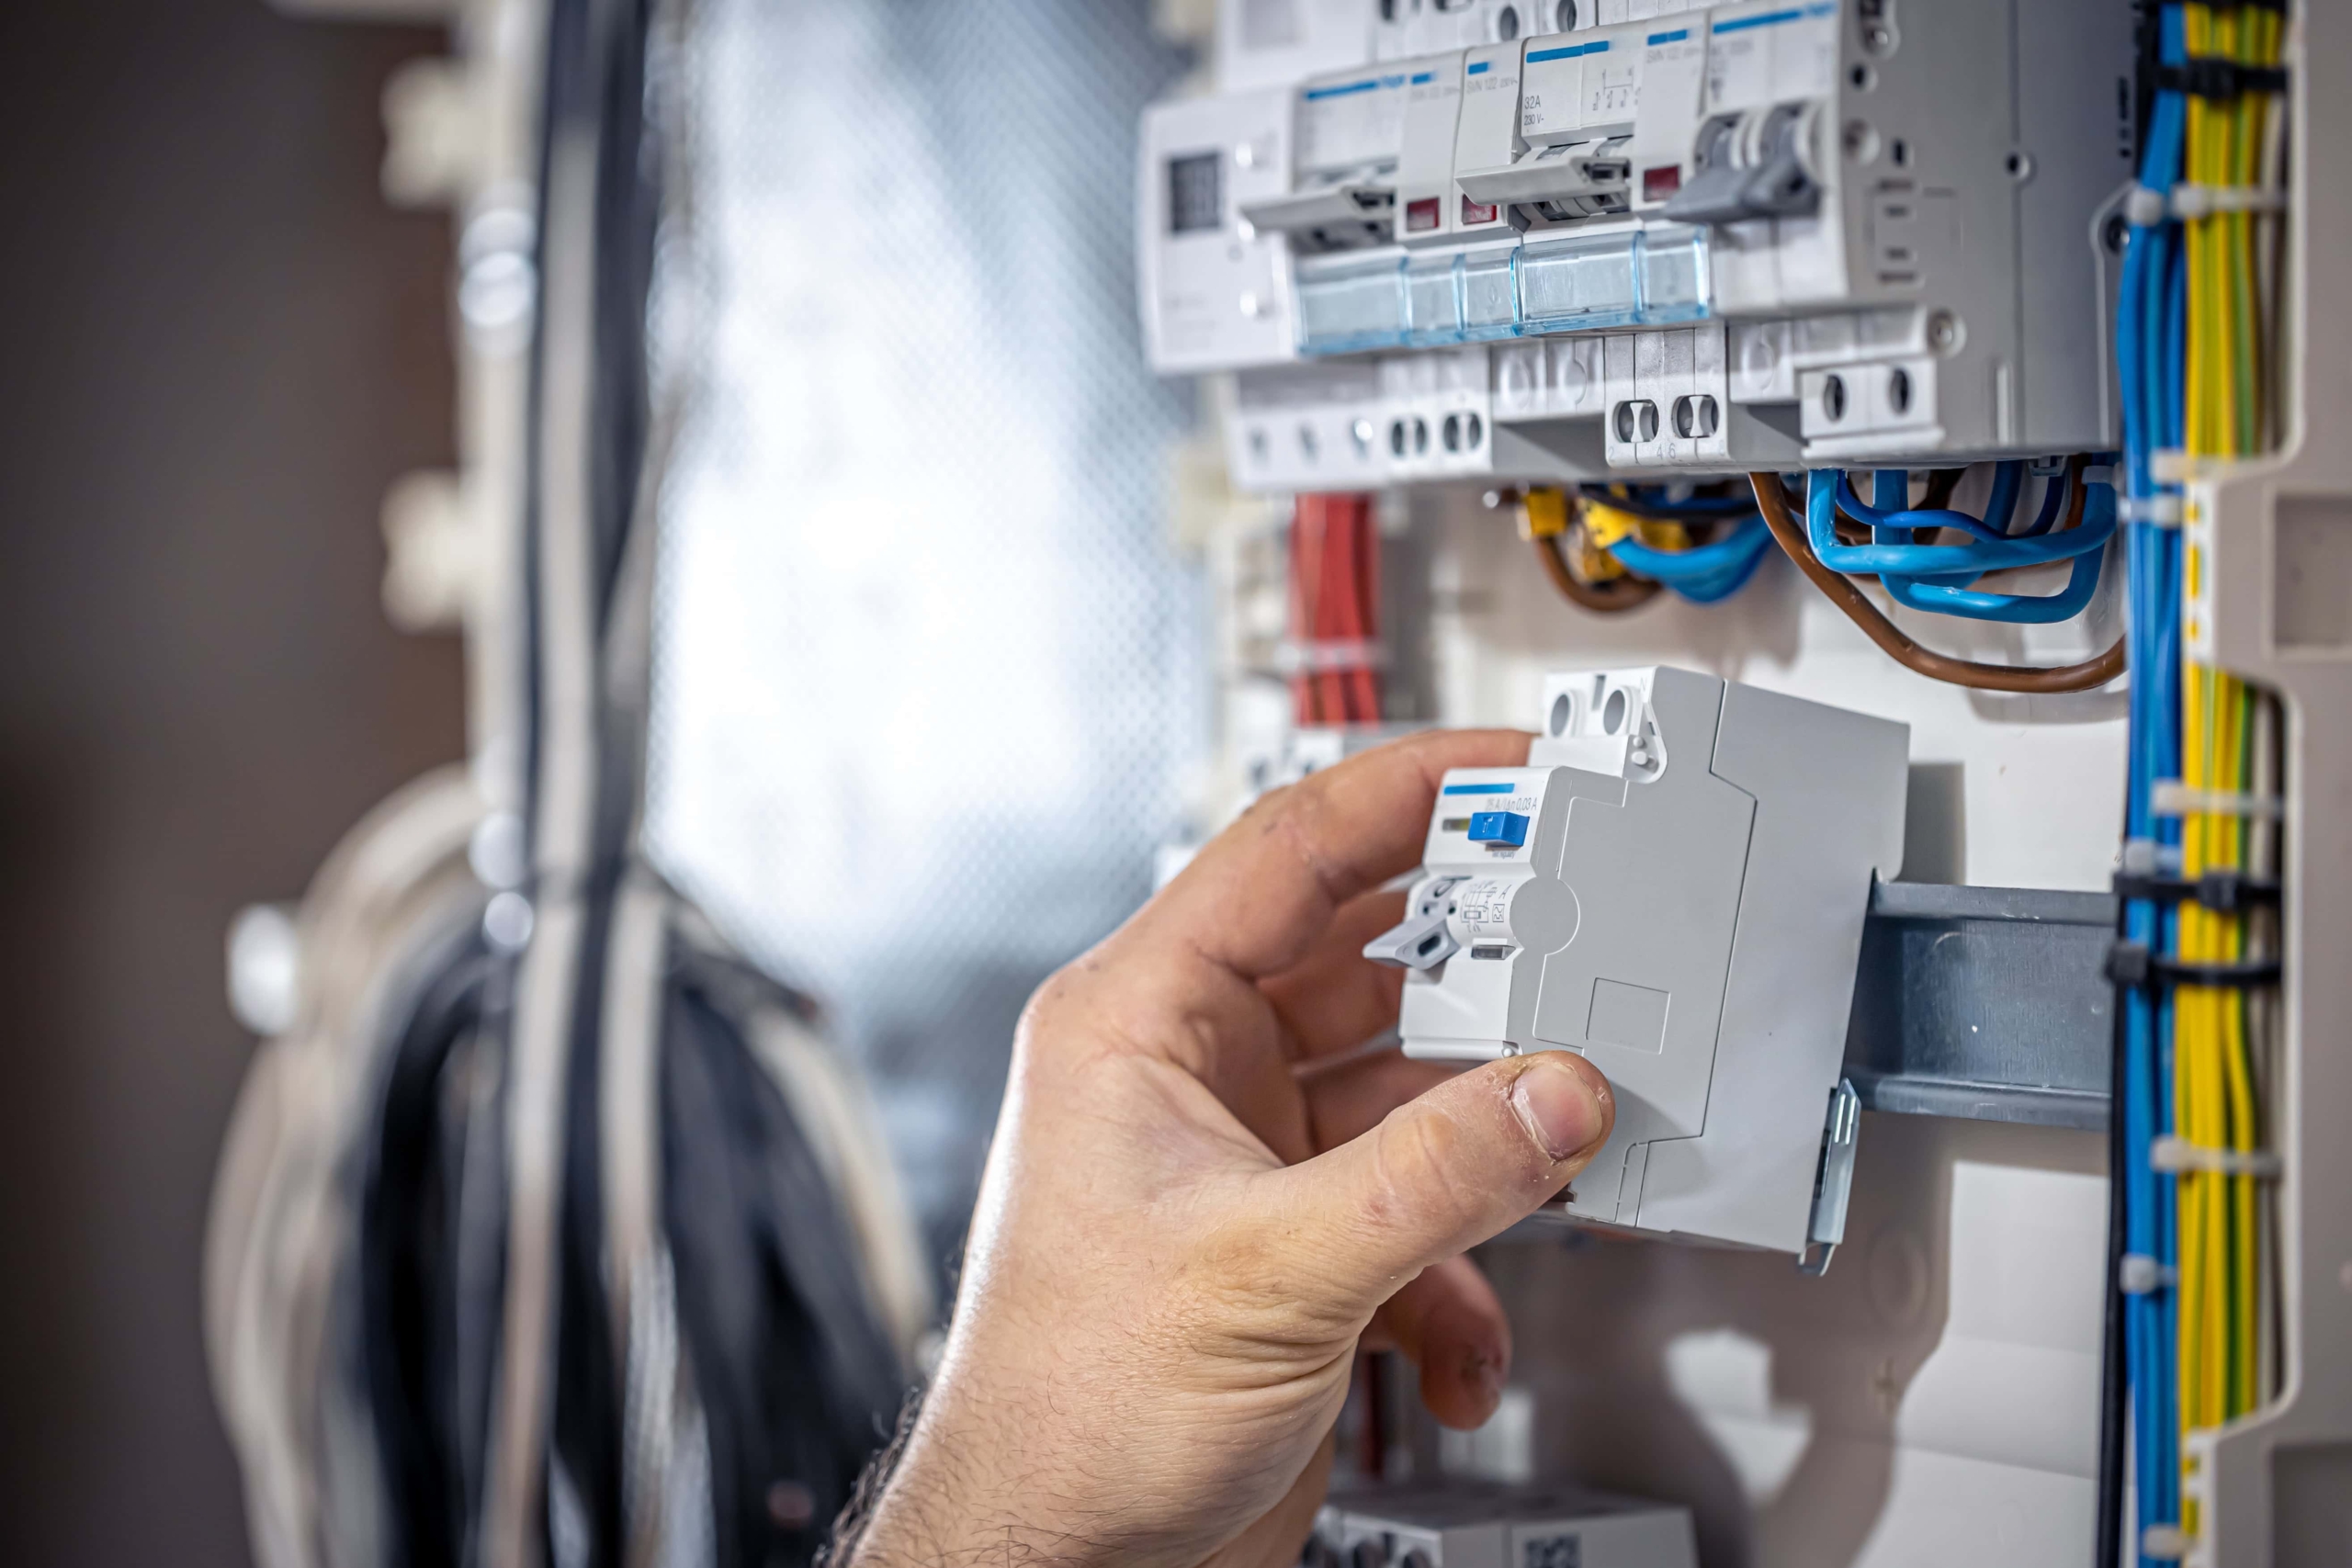
Attach the New Breaker
Now push the back of the new breaker into the holder clip on the breaker panel with some force. If the breaker lines up with the bus bar and you hear a click sound, consider it connected with the board. If there is any excess wire, fold it and keep it in the side space of the panel.
-
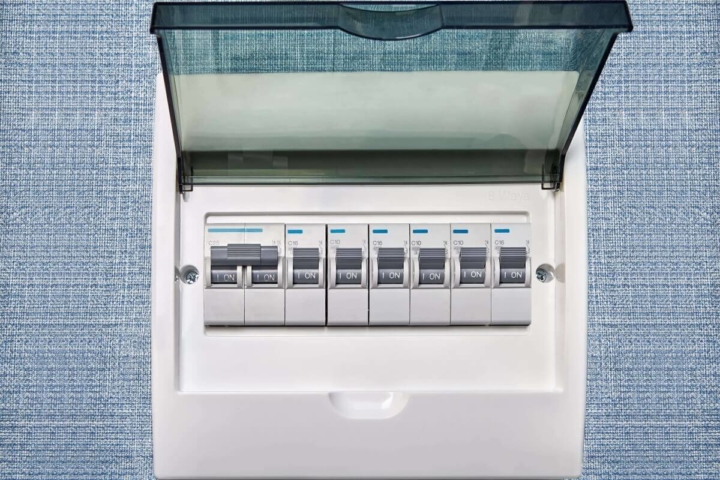
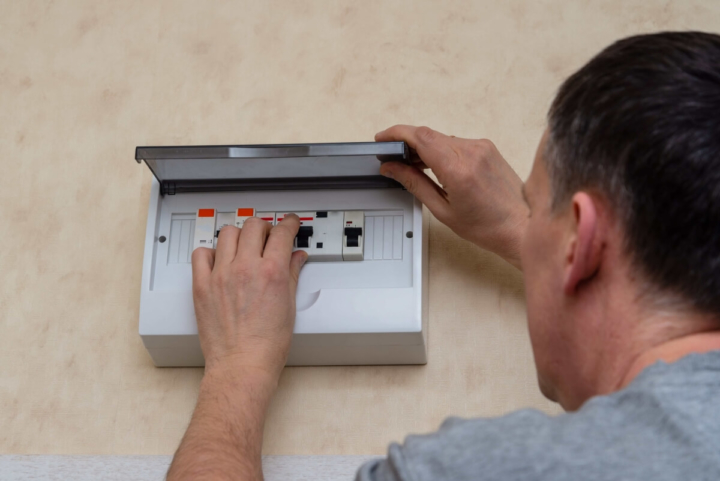
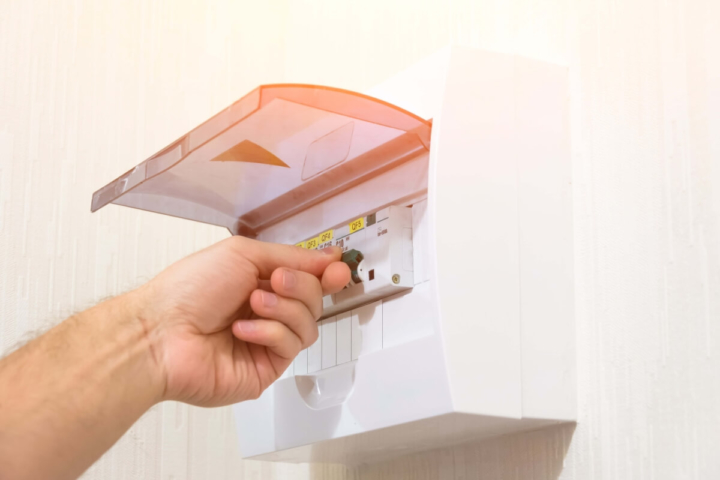
Turn the Power on
Switch off all branch circuit breakers before turning on the main breaker to prevent the electric surge. Ensure that the service panel is again secured at its place. Now switch on the main breaker. Afterwards, reset circuit breakers that are other than the main one, including the new breaker. Test the outlets powered by the new breakers that whether they are getting power or not.
-
Call a Professional if Required
Suppose the outlets connected to the new breaker are not getting power, then you might need to call a professional to fix the issue. Also, if you don’t feel confident or don’t have the skill set to identify AFCI and GFCI requirements, it is best to call a professional instead of a DIY attempt.


Electrical Safety Tools for Installation & Replacement of Circuit Breaker
You need the following tools handy for replacing the breaker:-
- Voltage tester to test new breaker & to ensuring no live wires before starting work
- Plywood or a rubber mat to stand on while working
- Insulated flashlight
- Safety goggles
- Cable connectors
- Insulated tools like screwdriver, hammer & wire strippers
Signing Off!
D&F Liquidators are known for serving all kinds of electrical material needs for more than 30 years. Call us now at 800-458-9600 to get the top-quality circuit breakers and other related electrical supplies at reasonable prices.
D&F Liquidators has been serving the electrical construction materials needs for more than 30 years. It is an international clearinghouse, with 180,000 square facility located in Hayward, California. It keeps an extensive inventory of electrical connectors, conduit fitting, circuit breakers, junction boxes, wire cable, safety switches etc. It procures its electrical materials supplies from top-notch companies across the globe. The Company also keeps an extensive inventory of electrical explosion proof products and modern electrical lighting solutions. As it buys materials in bulk, D&F is in a unique position to offer a competitive pricing structure. Besides, it is able to meet the most discerning demands and ship material on the same day.


