
Table of Contents
When people buy an old house, they concentrate primarily on its beautification. But the electrical renovation of an old house is more crucial from the safety point of view thus we will cover how to securely add a ground wire to an old house. The appliances which are currently used are very heavy-duty and advanced. Thus, you need to replace the 2-prong receptacles with 3-prong GFCI receptacles and complete the work of electrical grounding.
You might need to add grounded wire in some new houses also if the receptacles are not grounded properly.
How to add ground wire to old house?
Here is the step-by-step process of how to add a ground wire to an outlet or receptacle:-
-
-
Take all the Mandatory Approvals

Before starting any residential electric work, you need to seek permission from the local authorities. Check out the national and the local electrical codes and follow them diligently. It may involve arranging an inspection at different stages of work. Your GFCI or GFI might be required to be installed within 5 feet of the floor. Outdoor GFI needs to be temper and weather resistant. There are also regulations regarding the wiring of your home. Thus start your work after studying the requirements of national and local electrical codes and regulations in detail.
-
Get a Circuit Tester
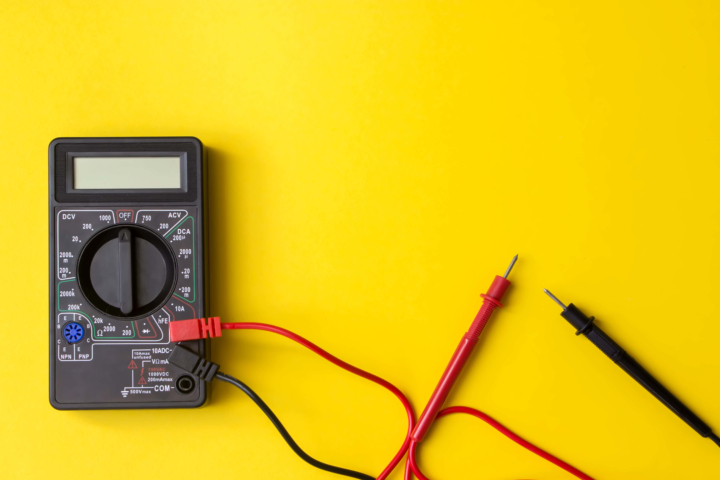
A circuit tester is a non-negotiable tool when it comes to adding a ground wire to a receptacle. You can find it and other mandatory tools like screwdrivers easily at any local home repair store. It can detect several possible issues in a receptacle. A circuit tester can detect electrical receptacle configurations easily. Some tester models can even test the GFCI receptacles for excess current. You can get alerts if the outlet is not grounded correctly or if there is a wiring malfunction.
-
Examine the Receptacle Through Circuit Tester

Plug the circuit tester in each receptacle or outlet in your home. Check the indicator light of the tester when plugged in. Cover the ones with tape where the light is indicating some issues with the ground wire. But make sure the tester is working correctly before testing the receptacles. The tester mostly comes with 3 prongs. Those are hot, neutral, and ground
-
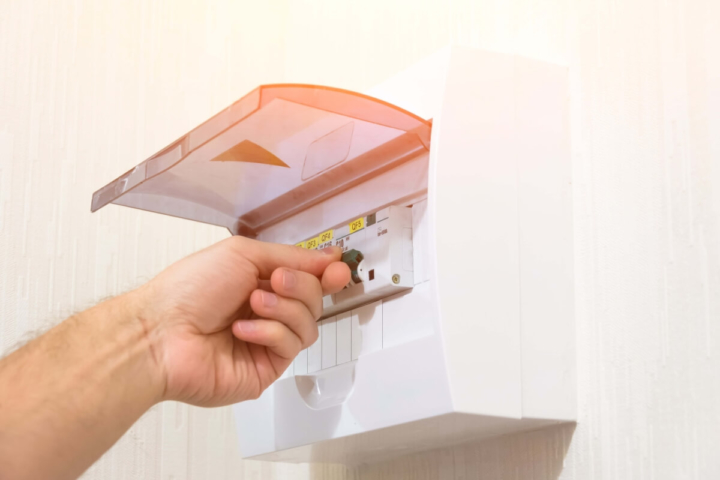
Turn Off the Main Power of the House
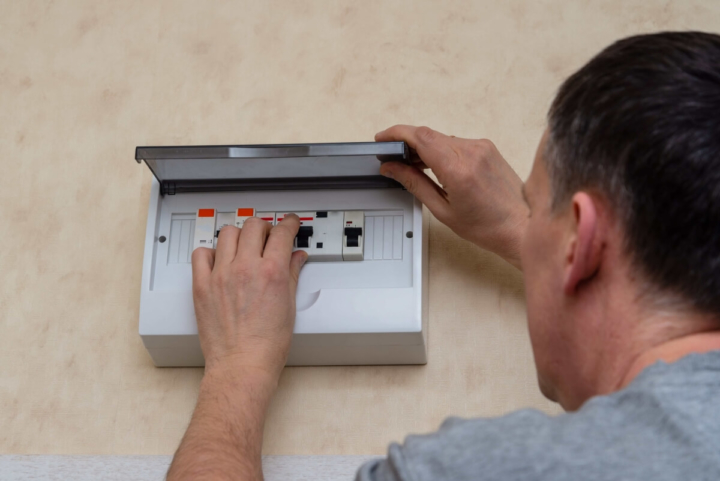
It is crucial to switch off the power before you start your work. You can switch off the power of the circuit breaker for the specific room also. In that case, you need to ensure with the tester that the power is off in each breaker. But turning off the power of the whole house is better to be on a safer side.
-
Carefully Remove the Cover Plate
You can remove the cover plate of the receptacle with the help of a screwdriver after turning the power off. While opening the screw, you might need to be careful of any wallpaper or wall color in your way. Doing it roughly might tear the wallpaper and spoil the look of the room.
-
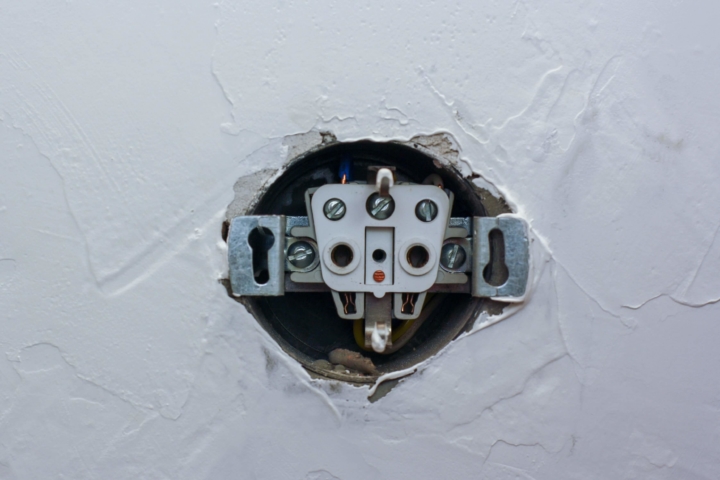
Remove & Test the Receptacle

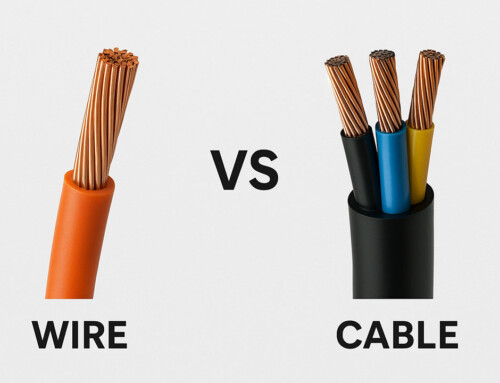
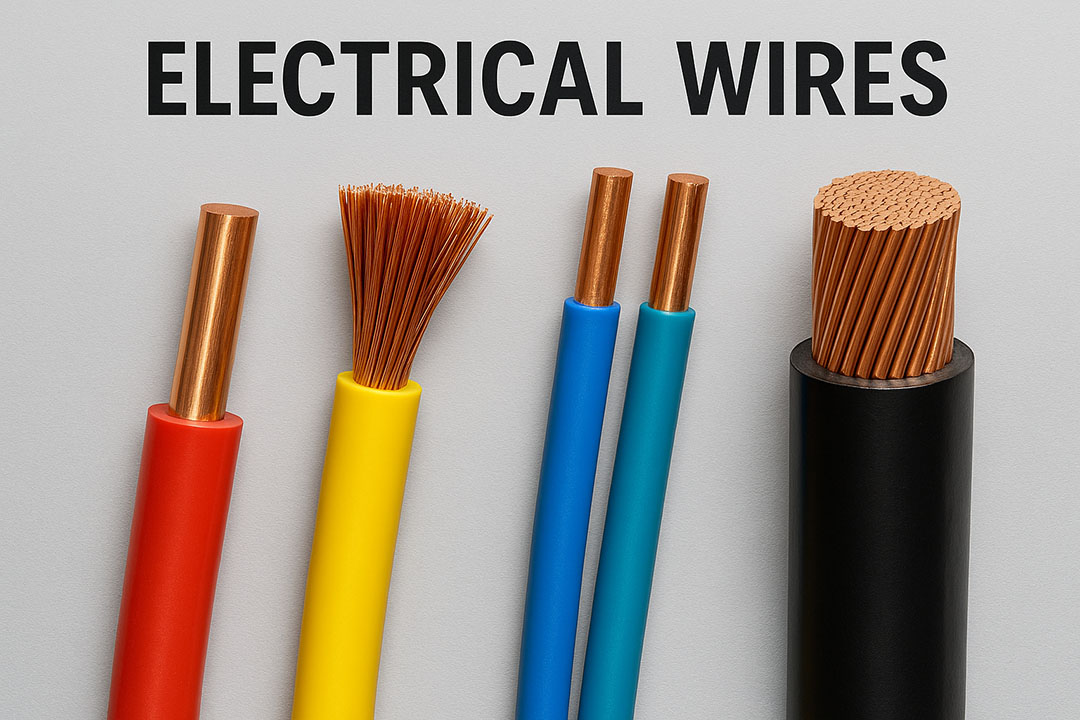
After removing the plate, pull out the receptacle from the box. Do it as far as the wires allow and be very careful. In a 3-prong receptacle, you will find black, white, and copper wire. Find the grounding wire and tighten it. If you see only black and white wiring, it means the box is not grounded. And you need to add the ground wire. You can only install GFCI or GFI receptacle to a 2-prong receptacle. But adding it alongside a ground wire is a much safer option.
-
Attach Wire of the New Receptacle
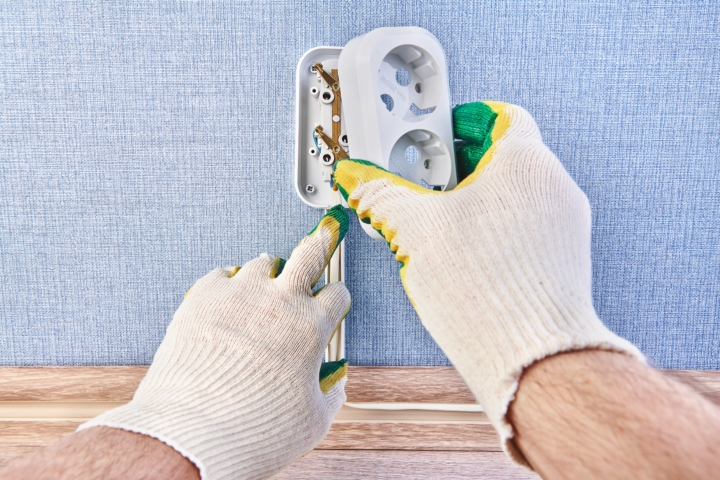
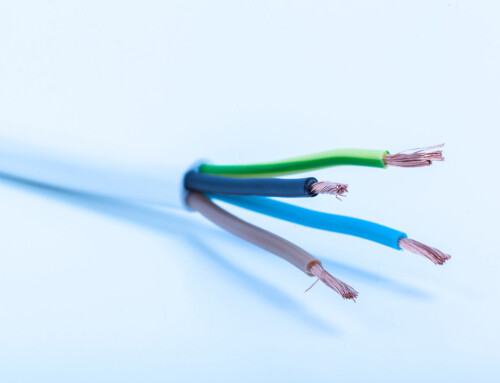
You need to attach the black wire to the brass terminal and the white one to the silver terminal if you need to install new receptacles. Use the line label to guide you on a GFCI receptacle. Use the green screws available in the market to close the box again. Tighten the ground wire with the help of the green screw only.
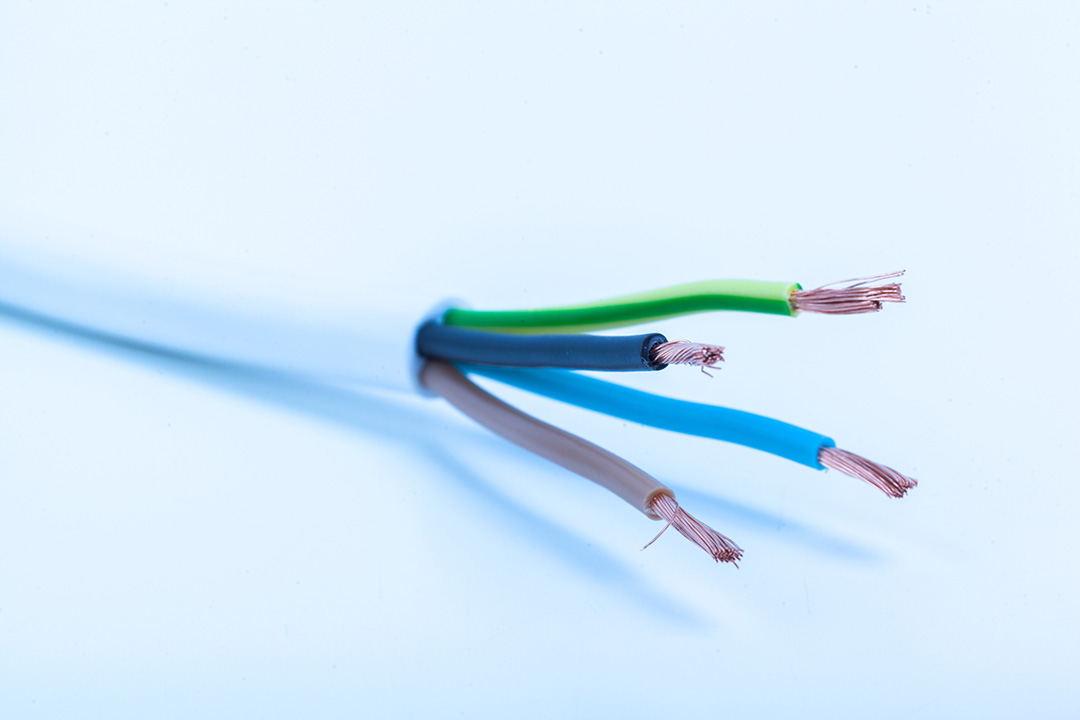
Attach the other end of the green grounding wire to the green grounding terminal located on the receptacle and insert the new receptacle into the box. Now wrap it and terminals with electric tape and push it back into the box. Be careful about folding the wires while doing this and must know about electrical wire color codes. Separate the black wire from the hot terminals. Now tighten the cover plate securely by mounting the screw.
-
Turn the Power On
-
Now turn on the power and check if everything is working fine.

